By Boldmethod
02/02/2023
 Boldmethod
02/02/2023
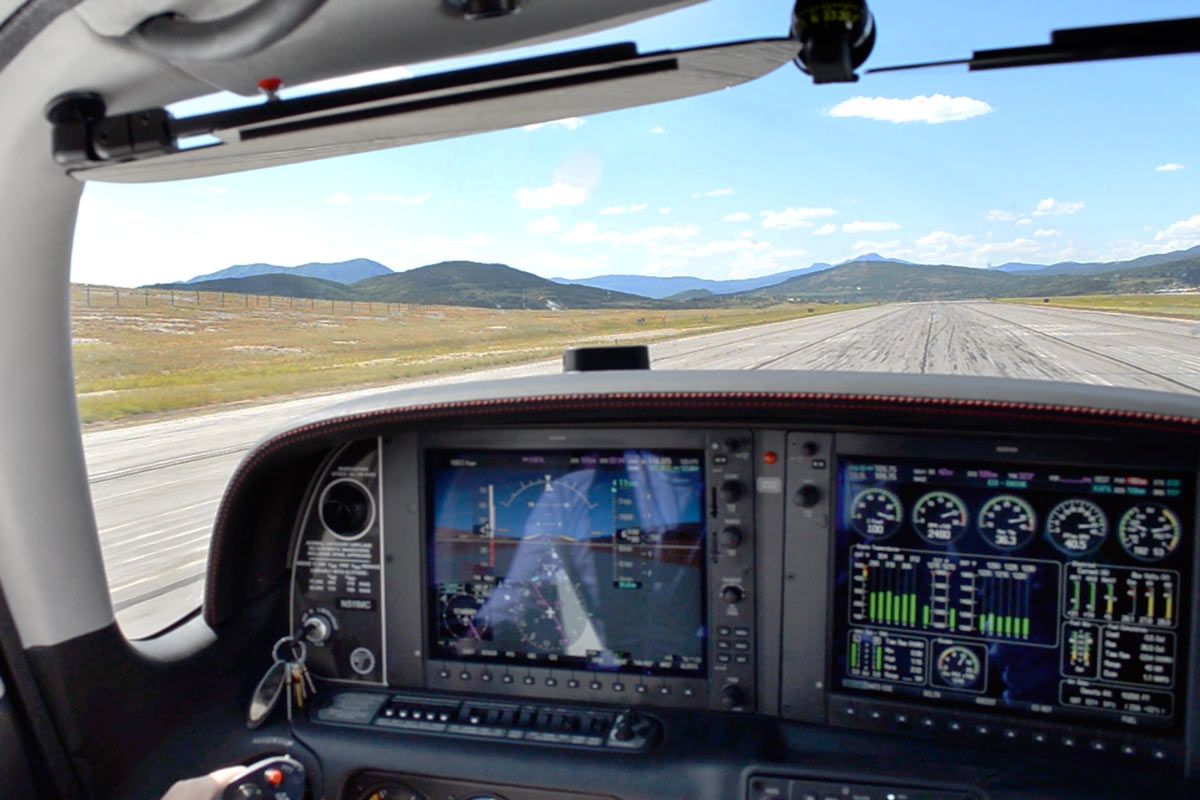
BoldmethodWhile there are plenty of reasons why you should reject a takeoff, the key is having a solid plan in place every time you advance the power for takeoff. Here's how to prepare for a rejected takeoff, and how to execute it.
Why Reject? Emergency And Abnormal Situations
Whether you're flying a Cessna Skyhawk or an Airbus A320, there are dozens of emergency and abnormal situations during the takeoff roll that could require you to perform a rejected takeoff. Here are some of the most common:
Loss of Engine Power
Door Popping Open
Runway Incursion
Pressurization Failure
Low Oil Pressure / High Oil Temperature
Stall Protection / AOA Failure
Inadequate Acceleration
Engine Vibrations
Windshear
Any Kind of Fire
Loss Of Directional Control
ATC Takeoff Cancellation
If something seems wrong or out of place during any takeoff, reject the takeoff as early as possible at a slow speed.
Brief Your Takeoff Plan
Whether you're alone, flying with a friend, or flying with a crewmember, brief your rejected takeoff criteria. It's something every airline requires of its pilots, and something that every GA pilot will benefit from.
Verbalize the points at which you plan to take the aircraft airborne vs. reject the takeoff and stay on the runway. While you can't possibly name every possible scenario, highlighting these criteria will make it easy to make a go/no-go decision during takeoff.
If you're flying a piston airplane, you don't have the same high speed reject concerns that pilots flying jets face. Generally speaking, if you haven't lifted off the ground in a piston airplane and something goes wrong, your best bet is to stay on the ground.
Only take a problem airborne in small aircraft when you don't have runway remaining, or if it's a minor issue that you know can be easily dealt with.
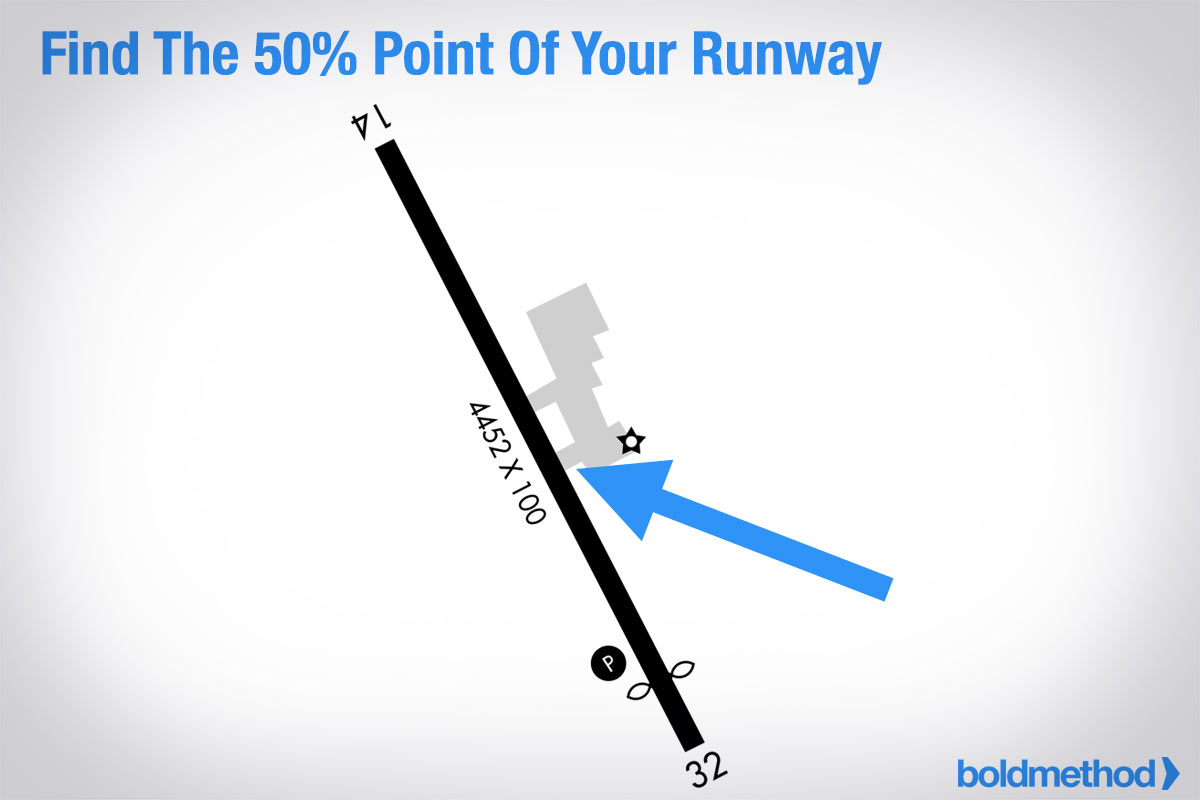
Concerned About Runway Length? Use The 50/70 Rule
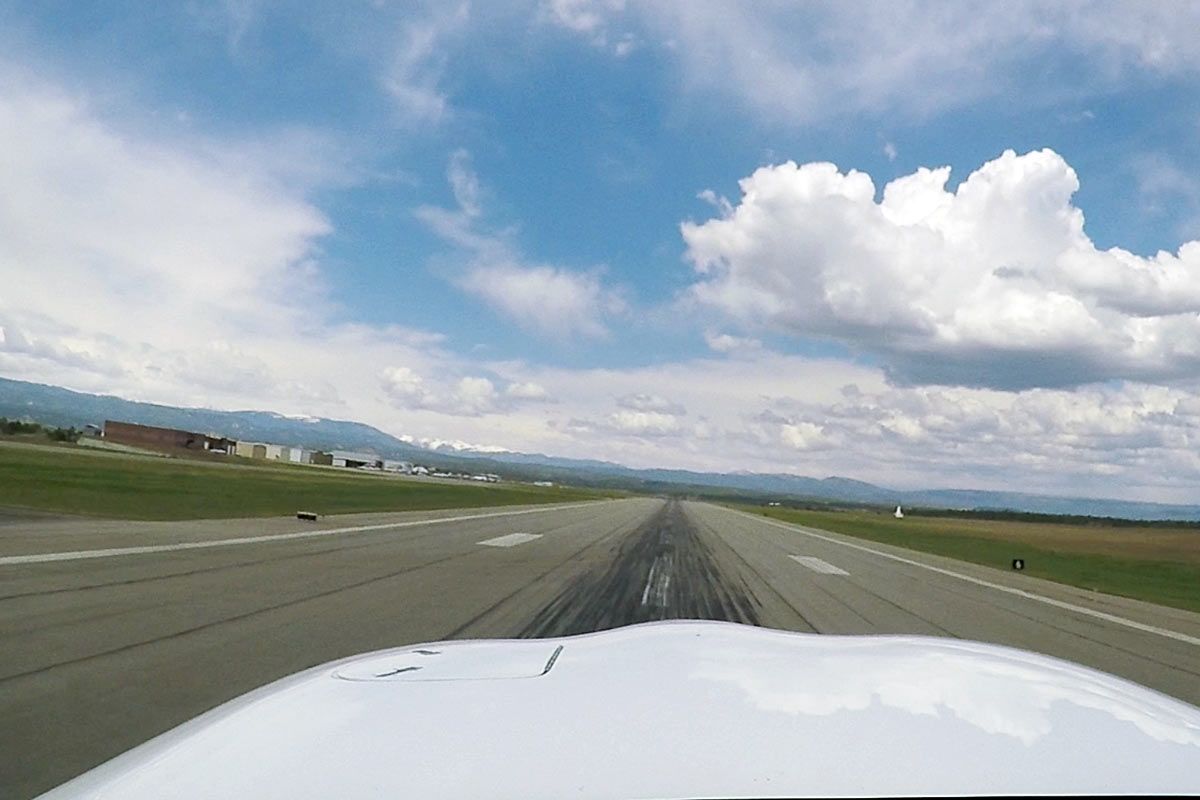
Will you lift off before you're out of runway? It's not a question you want to be asking yourself on your takeoff roll, especially as you approach rotation speed. If you haven't reached 70% of your takeoff speed by the time you've reached 50% of the length of the runway, you should abort your takeoff.
You should always use your takeoff performance charts to make sure you have enough runway for a safe takeoff. But after that, using the 50/70 rule gives you a very good insurance plan when you're rolling down the runway. If things don't go as planned and you're not getting the performance you expected during takeoff, you'll have a solid "abort takeoff" decision point, with plenty of room to stop.
 Boldmethod
The FAA has the same suggestion in Chapter 5 of the Airplane Flying Handbook: "Prior to takeoff, the pilot should identify a point along the runway at which the airplane should be airborne. If that point is reached and the airplane is not airborne, immediate action should be taken to discontinue the takeoff. Properly planned and executed, the airplane can be stopped on the remaining runway without using extraordinary measures, such as excessive braking that may result in loss of directional control, airplane damage, and/or personal injury".
How To Execute a Rejected Takeoff
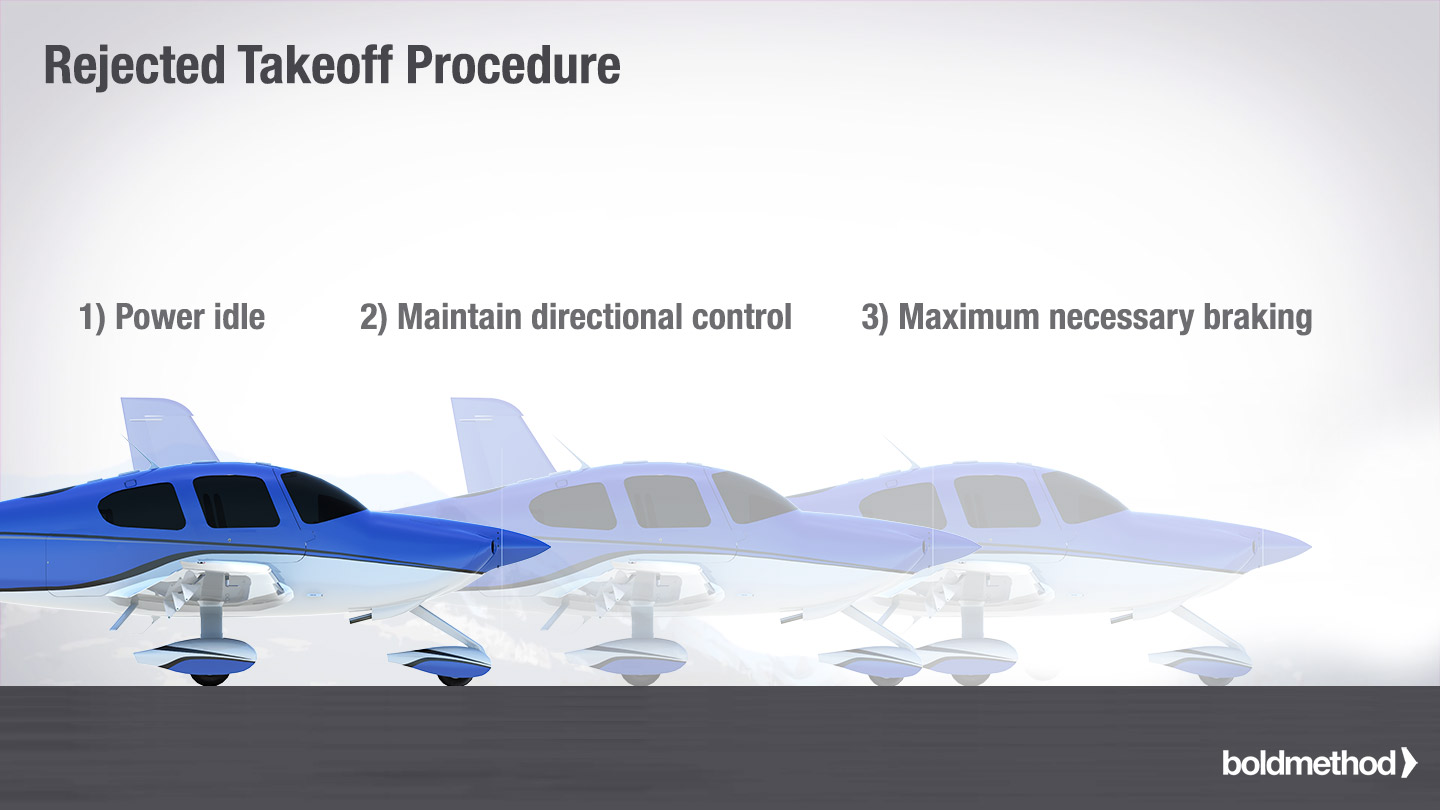
The general procedure for a rejected takeoff is simple: Power Idle, Maintain Directional Control, Maximum Necessary Braking.
Keep in mind, however, that you should always follow the procedure your aircraft manufacturer recommends. And if you reject a takeoff due to an engine fire, you may need to bring the mixture control to idle cutoff to stop fuel flow to the engine. Then, once you're stopped, follow the procedure for an engine fire on the ground.
 Boldmethod
There are a few things you should take into consideration when performing "maximum necessary braking." If you're taking off on a runway with thousands of feet remaining, you probably don't need to aggressively brake as you reject the takeoff. With aerodynamic braking, you might not really need to use your brakes at all. Just use enough braking action to safely stop the aircraft before the end of the runway.
Why don't you want to aggressively brake? When you're near rotation speed, there isn't much weight on your tires, because your wings are generating lift. That means it's easier to lose directional control if you're aggressive on the brakes during a rejected takeoff.
On top of that, locking up a tire at high speed due to aggressive braking could cause a brake to lock or a tire to pop, making your situation even worse. When the FAA recommends "maximum necessary braking," you should only brake as much as required for the runway distance remaining.
Communicate Your Intentions
Once you've slowed down and the imminent threat has been avoided, communicate your intentions to ATC or other aircraft on the CTAF frequency. Let them know that you've rejected the takeoff, where you plan to exit the runway, and if you need any additional assistance.
Never rush to exit the runway if you've just rejected a takeoff. Take a deep breath, slow the airplane to a controllable speed, and find a safe place to exit the runway.